Get PRO Pricing
Get [PRO] Pricing

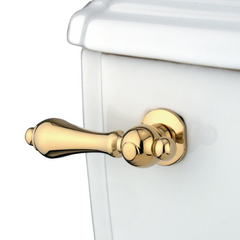
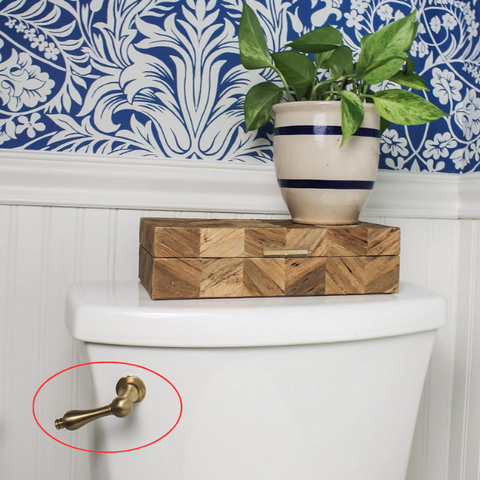
When it comes to household plumbing, the toilet is one of the most frequently used fixtures. Over time, various toilet components can wear out or break, and one common issue is a faulty or broken toilet tank lever. If you're tired of jiggling the handle to make your toilet flush or if it's become completely unresponsive, it's time to replace the tank lever. Fortunately, this is a relatively simple and cost-effective DIY project. In this article, we'll guide you through the process of replacing a toilet tank lever step by step.
Before you get started, gather the following tools and materials:
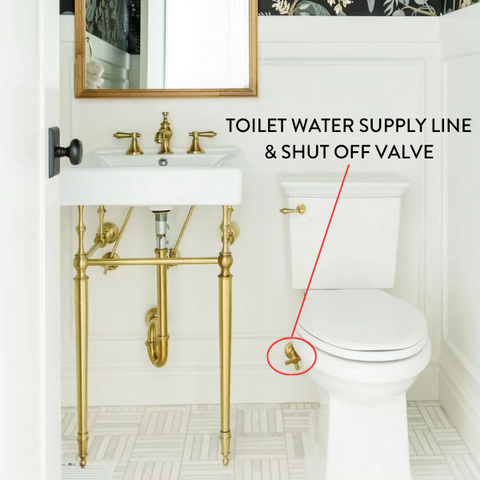
The first step in any plumbing project is to turn off the water supply to the toilet. Locate the shut-off valve on the water supply line, usually located behind or below the toilet, and turn it clockwise to shut off the water. Flush the toilet once to remove most of the water from the tank.
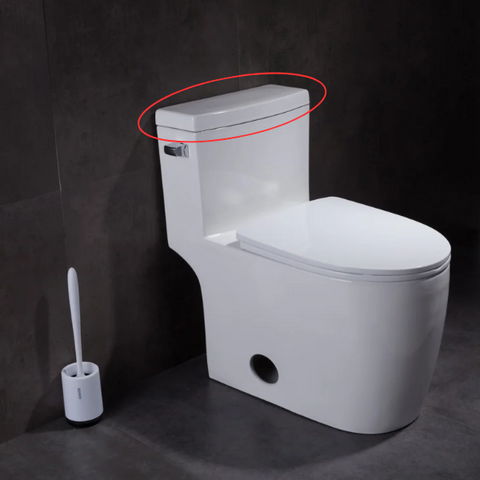
Carefully remove the tank lid and set it aside in a safe place to prevent any accidental damage. Standard lids lift straight up and are not held by screws or clips.
There may still be some water left in the tank, so use a towel or sponge to soak up any remaining water. You can also use a small container or a bucket to scoop out the water and dispose of it in a sink or bathtub.
Locate the chain at the end of the flush arm and disconnect from the flapper mechanism. Many times, it's a thin metal hook that disengages easily.
Loosen the handle, which is generally secured by a set screw on the side of the handle or a Phillips head screw on the handle itself, carefully pull the handle and remove the flush arm mechanism from inside the tank; loosen the nut from inside the tank to remove the flange outside the tank and the metal plate from inside the tank.
While holding the inside nut securely on the square hole, thread the flange from the outside. Secure it by tightening the nut or screw with an adjustable wrench or pliers.
Once the new lever is securely in place, turn the water supply back on by turning the shut-off valve counterclockwise. Let the tank fill, then flush the toilet to ensure the new lever operates smoothly.
If the flush is too weak or too strong, you can adjust the chain length or the positioning of the lever arm. Make the necessary adjustments to achieve the desired flush.
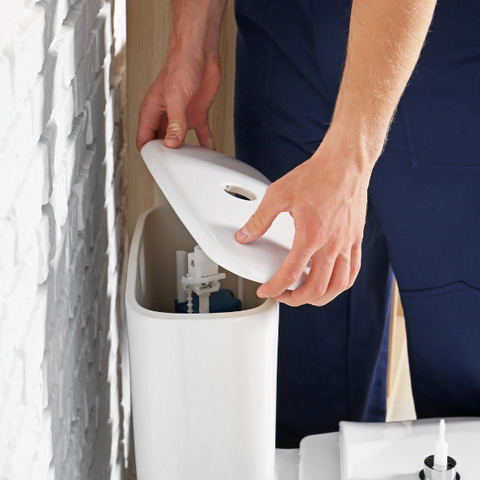
Carefully place the tank lid back on top of the tank.
Replacing a toilet tank lever is a relatively easy DIY task that can save you money and improve the functionality of your toilet. By following these step-by-step instructions, you can check that your toilet flushes smoothly and efficiently once again. Remember to turn off the water supply before you start, and take your time to do the job right. With a few common tools and a new tank lever, you can have your toilet working like new in no time.

